Sanding is often misunderstood in the repainting process. Many homeowners and even some professionals assume it’s always required. But the truth is more nuanced. Sanding walls before repainting isn’t necessary every time—but in certain situations, it’s essential.
Skipping sanding when it’s needed can lead to peeling paint, poor adhesion, visible patchwork, and a rough or uneven finish. On the flip side, unnecessary sanding can waste time, create dust, and even damage drywall.
This article outlines when sanding is truly critical, when you can skip it, and what techniques and alternatives deliver the best finish. We’ll also include tool options, grit recommendations, and professional prep strategies to help homeowners and property managers make smart choices for repaint projects.
Understanding the Role of Sanding Walls in Repainting

Why Sand Walls Before Painting?
Sanding does more than just smooth out bumps. It helps create a surface that new paint can stick to. Here’s how:
-
Removes gloss from previously painted surfaces, which is crucial for adhesion.
-
Smooths out texture inconsistencies, especially around patched or filled areas.
-
Reduces flashing (when repaired areas show through the paint).
-
Opens up the surface, allowing primer and paint to bond more effectively.
Without sanding walls, especially on glossy or uneven surfaces, you risk premature failure of the paint film—whether it’s peeling, bubbling, or just looking uneven.
When Sanding Might Not Be Necessary
Not every wall needs sanding. Here are situations where it may be unnecessary:
-
Repainting over flat or matte paint that’s clean and intact.
-
Walls in good condition with no cracks, holes, or patches.
-
When using bonding primers, which are specially formulated to stick to slick surfaces without sanding walls.
Still, even in these cases, a light scuff-sand can enhance performance.
Situations When Sanding Walls Is Essential
Certain conditions absolutely require sanding before repainting. Here’s a breakdown of when it’s non-negotiable:
Painting Over Glossy or Semi-Gloss Finishes
Glossy paint repels most new coatings. If you try to paint over a shiny finish without sanding or deglossing, the new coat may peel off or streak. Sanding roughens the surface, giving the paint something to grip onto.
Pro tip: Use 120-150 grit sandpaper to dull the sheen.
Repairing Wall Damage or Imperfections
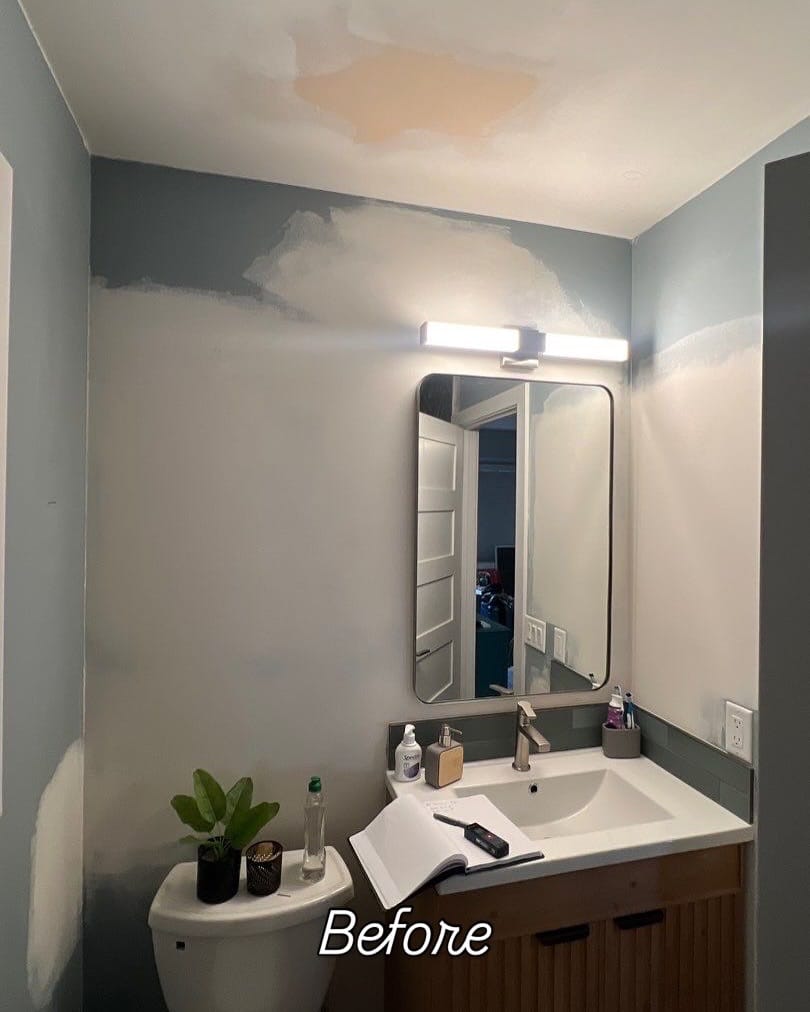
Whenever you’ve patched holes, cracks, or gouges using spackle, joint compound, or filler, those areas must be sanded flat to blend into the surrounding wall. Otherwise, they’ll show through—even after painting.
Removing Peeling or Flaking Paint
Paint that’s flaking must be feather-sanded to smooth the edge between the bare surface and the existing paint. This step prevents telegraphing and helps the new paint adhere consistently.
Preparing Previously Painted Woodwork or Trim
Wood trim often has semi-gloss or gloss finishes. Sanding walls it (or at least scuffing) helps the new coat bond properly and prevents peeling—especially important for baseboards, door casings, and window frames.
Staining or Water Damage Repairs
After stain-blocking primers are applied over water or smoke damage, a quick sanding smooths raised fibers or rough texture left by the damaged area.
Sanding Walls Methods and Tools
Hand Sanding
Ideal for touch-ups, detail work, or small areas, hand sanding is the most controlled method. Use:
-
Sanding sponges for curved surfaces or gentle sanding.
-
Sandpaper wrapped around a block for flat wall areas.
Choose medium grit (120-150) for deglossing and fine grit (220) for feathering patches.
Power Sanding
For large areas or textured walls, orbital or palm sanders speed up the process. These tools are especially useful for prepping:
-
Paint that’s been scuffed but not removed
-
Multiple repaired sections
-
Large surfaces with minimal dust containment
Be cautious—electric sanders can gouge drywall if not handled properly.
Wet Sanding vs. Dry Sanding
| Comparison | Wet Sanding | Dry Sanding |
|---|---|---|
| Dust Control | Minimal dust, ideal for indoor use | Creates a lot of airborne dust |
| Finish Quality | Very smooth, professional finish | Can be rough if not done carefully |
| Best Used For | Final smoothing before painting | Debulking patched areas or gloss removal |
| Tools Needed | Water, sponge/sandpaper combo | Sandpaper, sanding block or power sander |
Wet sanding is great for occupied spaces or where dust is a concern. Dry sanding is more aggressive and ideal for surface leveling.
Safety Tips
-
Wear an N95 mask or respirator to avoid inhaling drywall dust.
-
Use drop cloths to protect flooring.
-
Remove or cover furniture to prevent dust contamination.
-
Vacuum and wipe down walls after sanding to remove residue.
Alternatives and Complements to Sanding Walls
While sanding is a go-to prep step, there are scenarios where alternatives or supplemental techniques are better suited.

Using Bonding Primers
Bonding primers like Zinsser Bulls Eye 1-2-3, KILZ Adhesion, or INSL-X Stix are engineered to stick to glossy, slick, or previously painted surfaces.
These primers chemically bond to the surface and can eliminate the need for sanding entirely—especially useful for:
-
Kitchen walls
-
Bathroom ceilings
-
Cabinets and trim
However, even with bonding primers, light sanding can improve results.
Chemical Paint Strippers
When removing old or multiple layers of paint, chemical strippers can do the heavy lifting without sanding. Use these when:
-
Sanding walls produces too much dust
-
The surface has lead paint (consult a pro!)
-
You’re restoring a surface to bare material
Note: Always use chemical strippers in well-ventilated areas and follow all safety precautions.
Skim Coating for Surface Smoothing
If your walls have texture mismatches or large patchwork areas, sanding walls won’t be enough. Skim coating—applying a thin layer of joint compound over the entire wall—can create a uniform surface.
Once dry, sand the skim-coated wall lightly with 220 grit to achieve a flawless finish before priming and painting.
Service-Specific Advice for Homeowners and Professionals
Inspecting Walls to Determine Sanding Walls Needs
Before diving into sanding, walk the space:
-
Check for glossy finishes, patchy repairs, or stains.
-
Touch the wall—does it feel smooth or chalky?
-
Shine a flashlight across it to highlight imperfections.
If unsure, consult a painting contractor. Professionals can recommend whether sanding is needed and what tools or grits are appropriate.
Combining Sanding with Other Prep Work
Sanding is just one piece of the prep puzzle. Combine it with:
-
Cleaning with a degreaser (especially in kitchens and bathrooms)
-
Repairing holes and cracks with spackle or joint compound
-
Priming with appropriate products (standard, stain-blocking, or bonding primers)
A well-prepped wall makes any paint job last longer and look better.
Scheduling and Time Considerations
Sanding walls can be time-consuming—especially in large properties or when combined with drying time for repairs or primers. Here’s a typical prep schedule:
| Task | Estimated Time |
|---|---|
| Repairing and spackling | 1–2 hours (plus drying time) |
| Sanding repaired areas | 30–90 minutes |
| Cleaning and dust removal | 30–60 minutes |
| Priming | 1–2 hours |
For multi-room or full-home projects, stagger prep and painting work to optimize efficiency.
People Also Asked (FAQ Section)
Can I skip sanding if I’m using a primer?
Not always. If the surface is glossy or damaged, sanding walls helps even bonding primers adhere better.
What grit sandpaper should I use before repainting?
Use 120–150 grit to dull gloss. For feathering repaired areas, use 180–220 grit.
Is sanding dusty and how do I manage it?
Yes—especially dry sanding. Use dust extraction vacuums, wear a mask, and seal off adjacent rooms with plastic.
Can sanding damage drywall?
Yes, over-sanding can shred drywall paper or gouge the surface. Use light pressure and fine grit on drywall.
How often should I sand before repainting?
Only when gloss, damage, or patching is present. No need to sand freshly painted, matte-finish walls in good shape.
Sand Smart for a Durable, Beautiful Repaint

You don’t have to sand before every repaint—but knowing when it’s necessary can mean the difference between a long-lasting, beautiful finish and a job that fails in months.
Use sanding when:
-
Painting over glossy surfaces
-
Repairing or patching walls
-
Removing flaky or peeling paint
And skip it when:
-
The existing paint is matte or flat and in good condition
-
Bonding primers are used on lightly textured surfaces
Sanding walls is a smart investment in durability and aesthetics. Done right, it helps paint adhere better, look smoother, and last longer. If you’re unsure how much sanding your space needs, consult a painting professional to evaluate the surface and recommend the best prep approach.

